This document describes:
- how to download and install the RTView DataServer for Infrastructure for use with Enterprise Monitor
- how to configure the data server including defining the connection information for the Solution Package for Infra
- how to add alert and historian database connections
- how to add connections to Enterprise Monitor
- how to verify that your setup is working properly in Enterprise Monitor
| Info |
|---|
| For information regarding the overall RTView DataServer architecture, as well as how to set up security for the related RTView processes, see DataServer and DataCollector Architecture for RTView Enterprise Monitor. |
| Info |
|---|
| This flow assumes that you have already downloaded, installed, and have RTView Central Servers (Enterprise Monitor) up and running. See the RTView Enterprise Monitor Configuration Guide for more information. |
| Info |
|---|
| To set up High Availability (failover) for your DataServer, review Configuring High Availability for DataServer Deliverables prior to starting this flow. |
| Info |
|---|
| In addition to using the RTView Configuration Application for configuring your connections, you can use the Property Editor REST API to import initial connections or automate connection updates. See Property Editor REST API for more information. |
Before
You GetGetting Started
- You must have Install Java installed and you should know the installation directory path.
- You should know Know the correct full path to the directory containing the .jar files for each of your solution packagespackage.
- You should know Know the connection settings for your each solution packagespackage:
Amazon Web Services connections: Location of your .jar files, the Access ID Key, the Secret Access Key, and the fully qualified name for an Amazon Service (Cloudwatch) that provides monitoring data.
Docker connections: Verify cAdvisor is set up properly and know the desired port to use if different from the default port.
Microsoft SQL Server connections: Connection name, URL for the SQL server, and username/password (if specified).
MongoDB connections: Connection name and URL to each MongoDB to which you want to connect.
MySQL connections: Connection name, database URL, and username/password (if specified).
Node.js connections: Know the desired port to use if different from the default port.
RTView Host Agent connections: All configurations are optional.
RTView Manager connections: Connection name, host name/IP address of the MBean server, port exposed by your MBean server, and username/password (if specified).
RedHat JBoss connections: Connection name, URL for the connection, and username/password used for the connection (if specified).
VMWare connections: Connection name, connection method (vCenter Server or Direct EXSi Host), URL for the connect method, and username/password (if specified).
| Info |
|---|
| If you are upgrading to a new version of the DataServer, review the Upgrade Steps |
| to perform all the required steps. |
Downloading the RTView DataServer for Infrastructure
- Open a browser and navigate to https://sl.flexnetoperations.com.
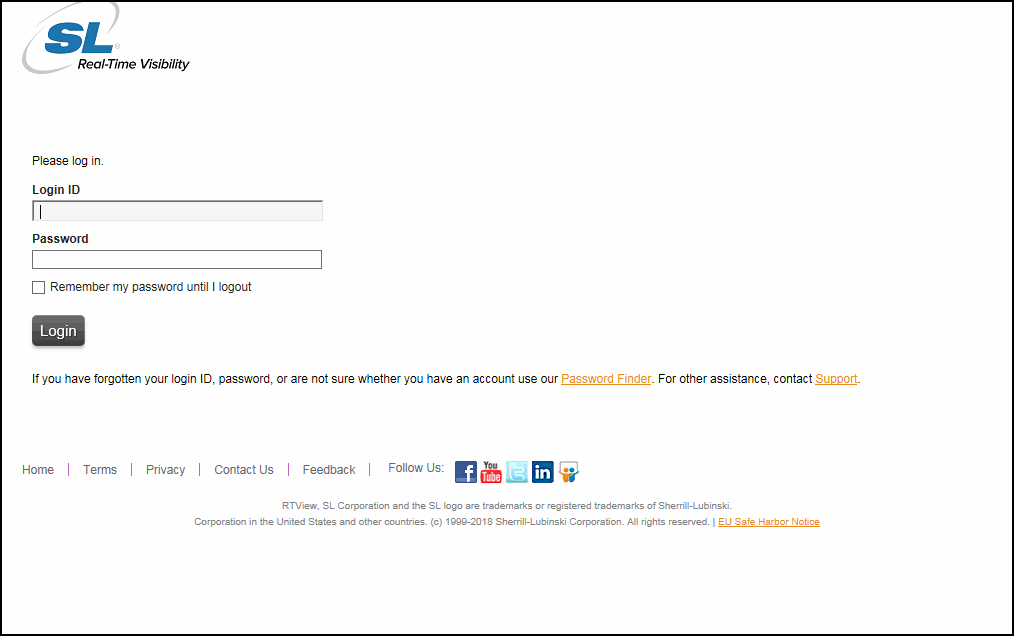
2. Log in using your RTView Download Center account login/password.
If you do not have an RTView Download Center account, contact sl@flexnetoperations.com about helping you to to create an account.
The RTView Download Center page displays.:
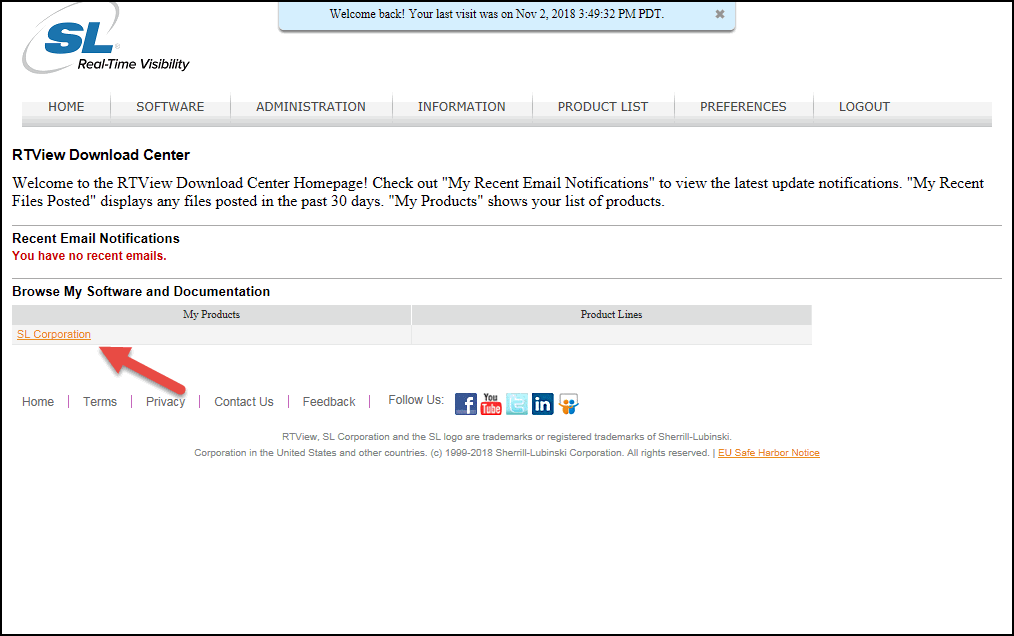
3. Click the SL Corporation link in the Browse My Software and Documentation region.
The list of available Product Lines displays.:
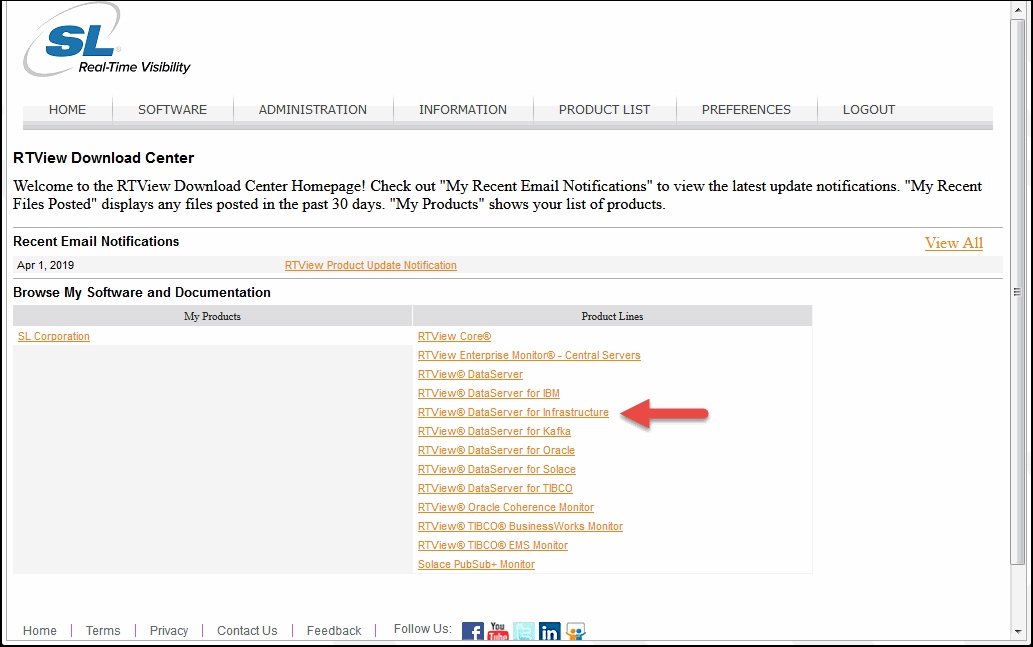
4. Click RTView DataServer for Infrastructure.
The Product Information page displays.:
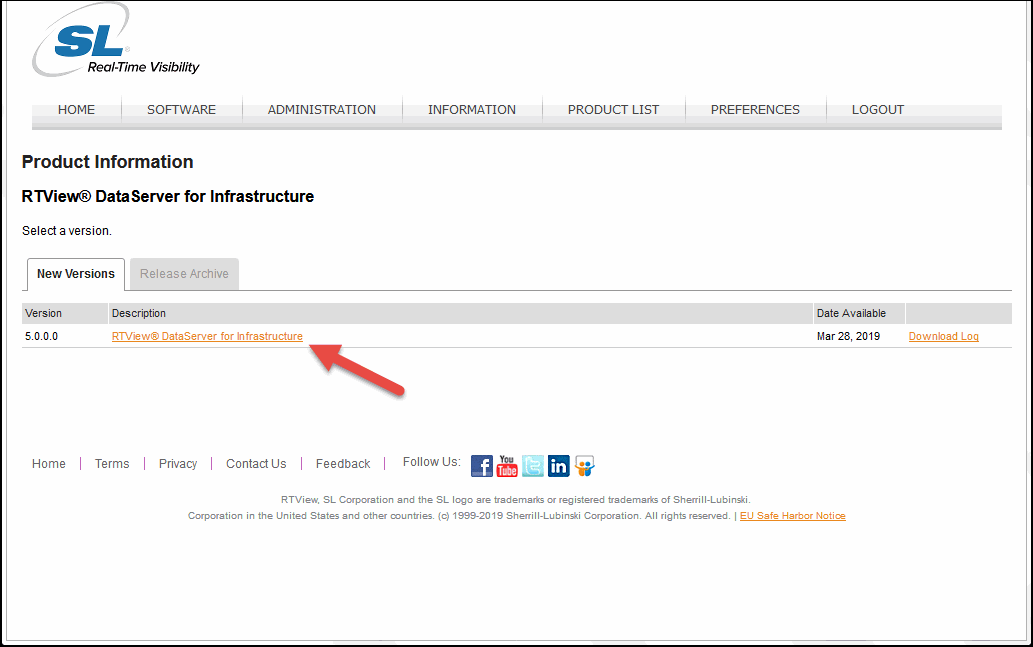
5. Click RTView DataServer for Infrastructure.
The Product Download page displays.:
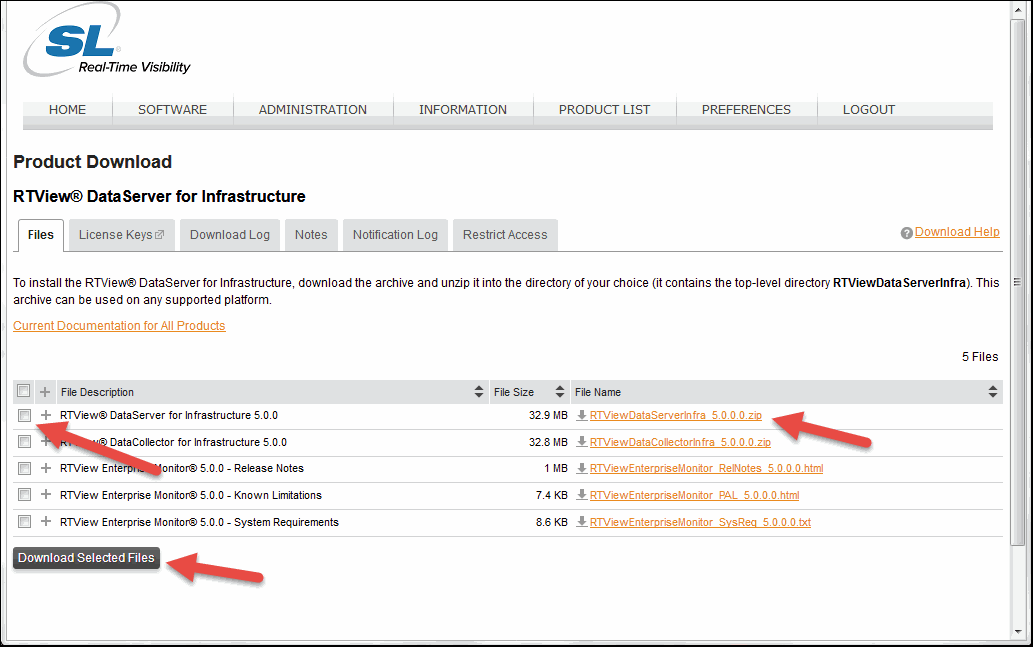
6. Click the RTViewDataServerInfra_<version>.zip file or, if you want to download multiple files, select the check box next to the different deliverables and click the Download Selected Files button.
| Info |
|---|
| The compressed file(s) is/are saved to your machine. |
Registration
When you install the DataServer, a temporary license key is included. SL Corporation will send you a permanent key that you will need to add to your RTView license key file so that you can extend the operation of your monitoring system.
| Info |
|---|
| This is a universal key that will enable you to run RTView on different machines and platforms. |
| Make sure you use RTView within the terms of your End User License Agreement (EULA). |
To update your RTView system with your new license key
, open:
- Open a command window and
- navigate to RTViewDataServerInfra/rtvapm/rtview/lib.
- Edit the KEYS file using a text editor.
- Copy/paste the new replacement key to the file.
- Save the KEYS file.
Installing and Starting the RTView DataServer for Infrastructure
| Info |
|---|
| If using UNIX, do not include spaces in your installation directory path. The start_server.sh and stop_server.sh scripts will not function properly if spaces are included in the installation directory path. |
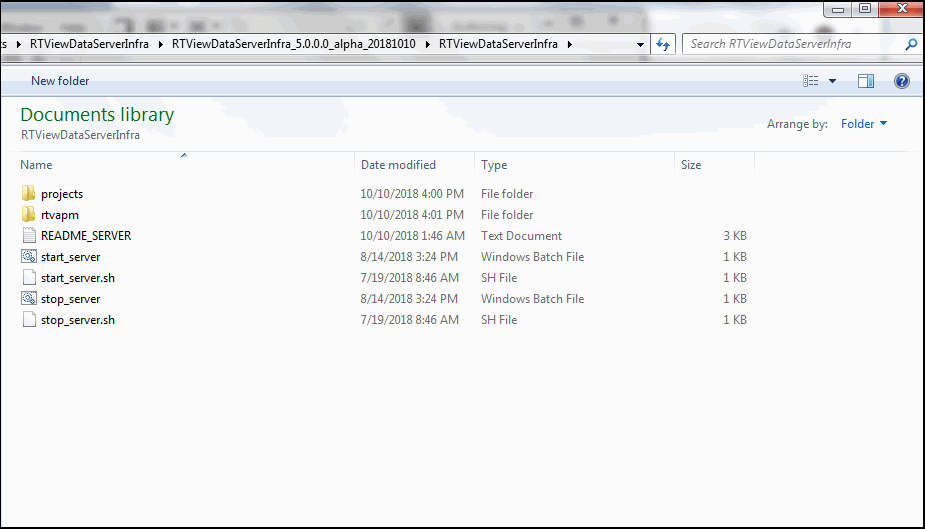
Extract All (Windows)/unzip (UNIX/Linux) the file to the directory of your choice. For UNIX/Linux, use unzip -a to unzip the file.
2. Open a command window and set the JAVA_HOME environment variable to point to your Java Installation.
For example:| Status | ||||
|---|---|---|---|---|
|
export JAVA_HOME=/opt/Java/jdk1.7.0 (UNIX/Linux)
set JAVA_HOME=C:\Program Files (x86)\Java\jre1.8.0_201 (Windows)
Or, in Windows, you can set JAVA_HOME as an environment variable (in Control Panel > System > Advanced system settings), where it will then be used by all command windows and when you double-click on a .bat file.
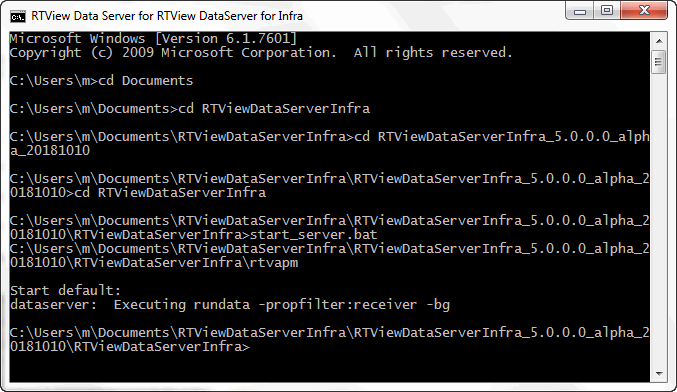
3. In the command window, navigate to the RTViewDataServerInfra directory and type:
start_server.bat (Windows)
./start_server.sh (UNIX/Linux)
| Info |
|---|
| This script starts the Data Server on port 3278 with HTML Server (Eclipse Jetty, by default) on port 3270. If these ports conflict with other processes running on your system, you can change the first two digits of the ports by using -portprefix: and specifying the first two digits you want to use for the ports in the command line. For example: start_server.bat -portprefix:44 (which would change the ports to 4478 for the Data Server and 4470 for HTML Server). If you want to save your port prefix, you can change the port prefix in the RTView Configuration Application (see the next section), or you can use -saveportprefix: command line argument (for example: start_server.bat ). |
Configuring the Data Server
Next, you need to To create your connections for each of your solution packages using the RTView Configuration Application.:
- Open a browser and type:
http://localhost:3270/rtvadmin (for a local installation using Eclipse Jetty)
http://<IP address>:3270/rtvadmin (for a remote installation using Eclipse Jetty)Note:
| Info |
|---|
If you specified a different port at startup (due to a port conflict), you must use the port you specified in the command line. For example, if you specified 44 as your port prefix in the command line at startup, then you would use: |
http(s)://<IP address>:4470/rtvadmin |
The Authentication required dialog displays.:
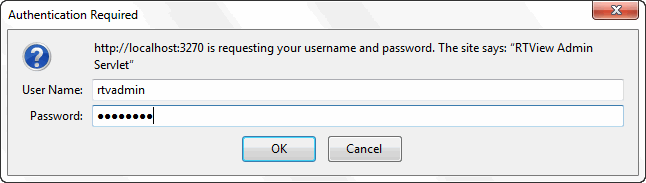
2. Log in using rtvadmin/rtvadmin as the username/password.
The RTView Configuration Application displays.:
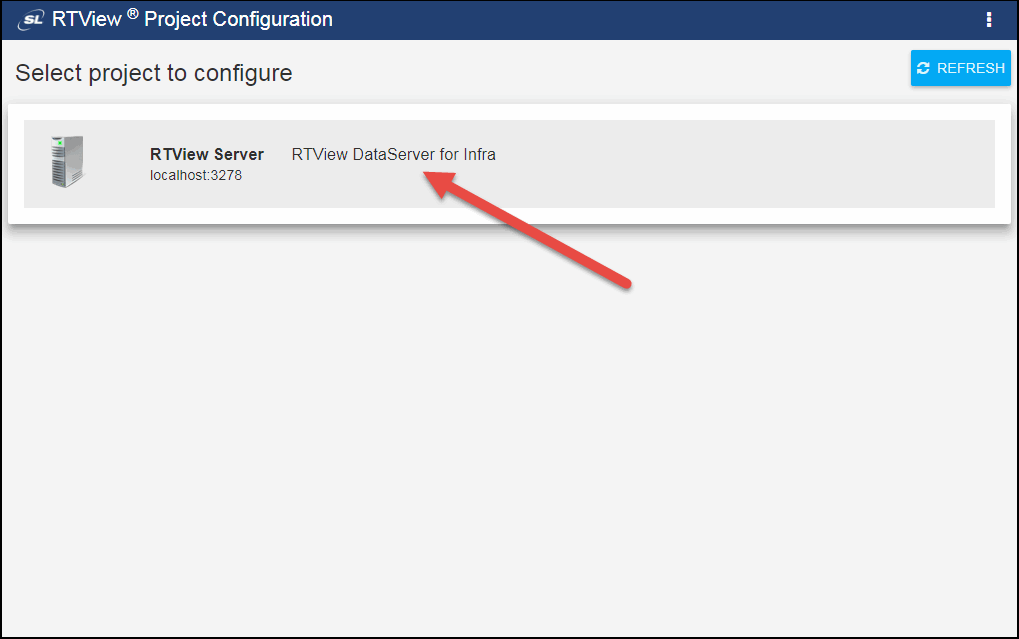
3. Click RTView DataServer for Infra.
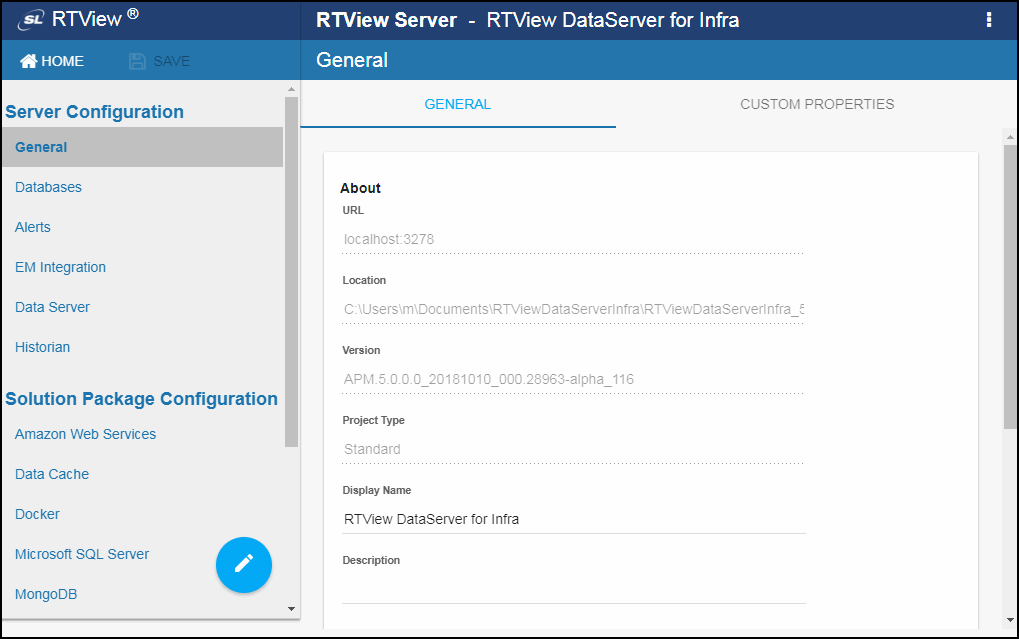
The RTView Configuration Application displays with the General tab open.:
| Info |
|---|
| If you modified the port at startup, you should modify the port prefix so that you do not need to specify the port on the command line every time you run the startup script. To do so, navigate to Server Configuration > General > General Tab > Ports > Port Prefix and define a new port prefix. If you change the Port Prefix to 44 then, after saving your changes and restarting your data server, you would access the RTView Configuration Application for the RTView DataServer for Infrastructure using the following URL: http(s)://localhost:4470/rtvadmin (instead of the default http(s)://localhost:3270/rtvadmin URL) |
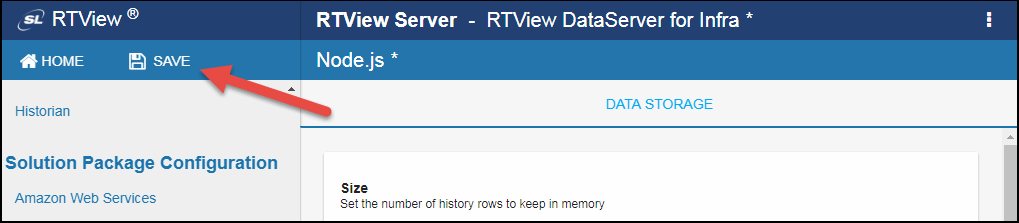
4. Under Solution Package Configuration, select the desired solution package you want to configure and click the link below to view the steps required to set up the configuration for the solution package:
Data Cache: No configuration necessary.
User Experience: No configuration necessary.
- Optionally, you can create a Historian Database Connection and configure the historian settings. See the link below for For more information: Configuring the Historian Database (Optional)
- Alerts are configured in RTView Central Server. Click the link below to view details, and see the See RTView Enterprise Monitor Configuration Guide for more information.
- details.
Connecting Your Data Server to Enterprise Monitor
Next, you need toTo connect your data server to Enterprise Monitor
. To do so:
- Click Server Configuration > EM Integration.
The EM INTEGRATION tab displays.:
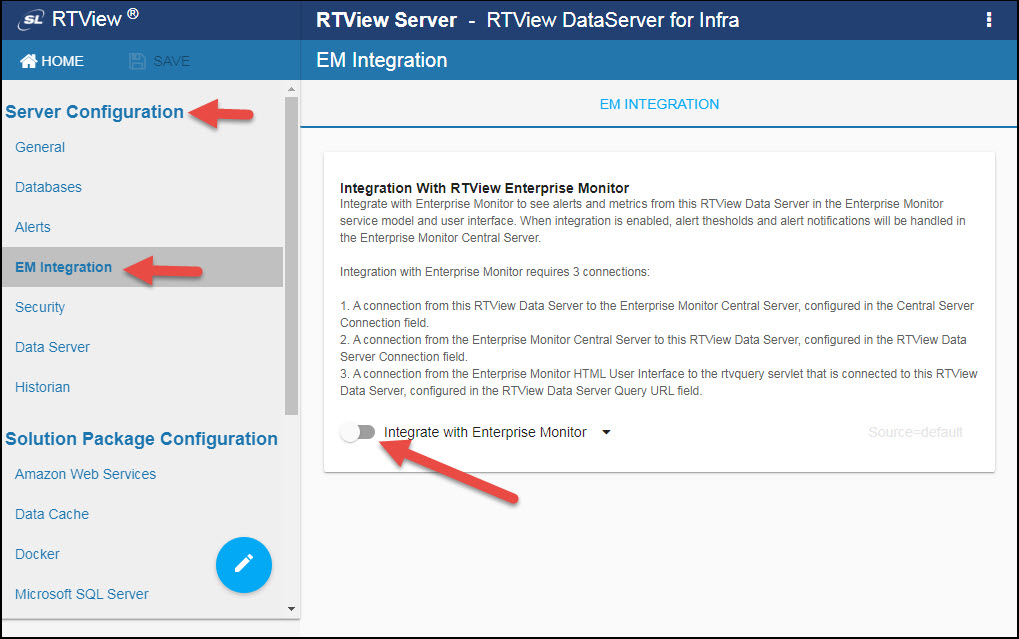
2. Click the Integrate with Enterprise Monitor toggle.
:| Info |
|---|
| This field can be enabled by default by setting the RTVDS_INTEGRATEENABLED environment variable to 1 (for example: RTVDS_INTEGRATEENABLED=1). |
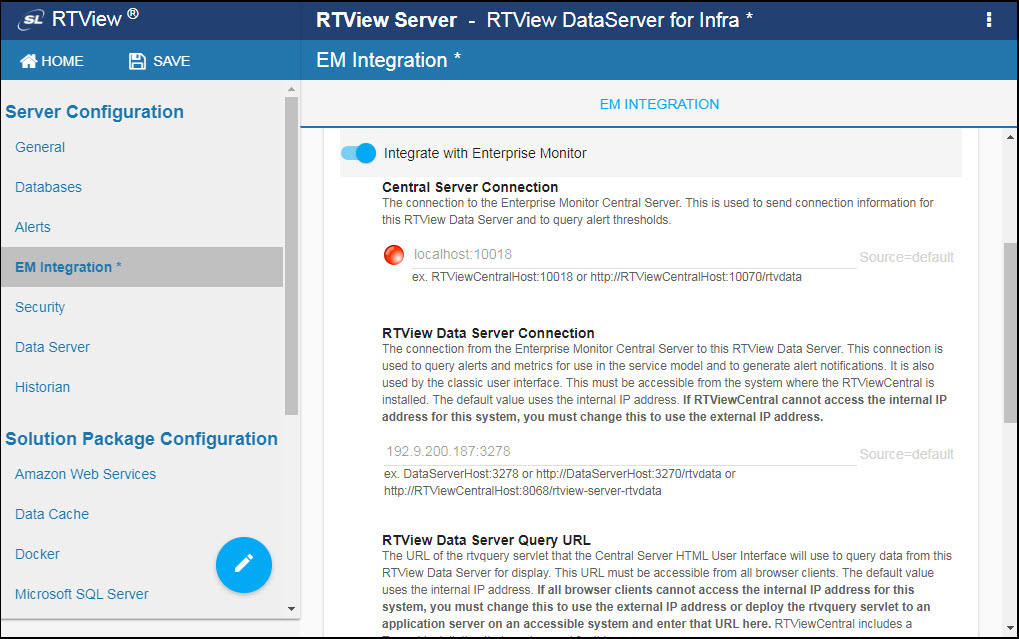
The following fields display:
Central Server Connection: Specify the URL to be used to connect to your RTView Enterprise Monitor Central Server. By default, a local connection is defined (localhost:10018) and does not need to be modified if your Central Server and Data Server are on the same machine. If they are on different machines, enter the URL containing IP address and port like so:
<IP address>:10018Note:
| Info |
|---|
| You can specify a different default for the Central Server Connection field by specifying the RTVDS_CENTRALURL environment variable (for example: RTVDS_CENTRALURL=RTViewCentralHost:10018. |
RTView Data Server Connection: Specify the URL that the RTView Enterprise Monitor Central Server should use for connecting to this RTView Data Server. The default value is the internal IP address. If the Central Server cannot access the internal IP address, then you must modify this value to use the external IP address. This field can be defined by default by defining the RTVDS_URL environment variable (for example: RTVDS_URL=myhost:3278).
RTView Data Server Query URL: Specify the URL that the RTView Central Server HTML user interface should use to query data from this RTView Data Server. The default value uses the internal IP address. If all browser clients cannot access the internal IP address for this system, you must change this value to use the external IP address or deploy the rtvquery servlet to an application server on an accessible system and you should specify that value in this field. This field can be defined by default by defining the RTVDS_QUERYURL environment variable (for example: RTVDS_QUERYURL=http://myhost:3270/rtvquery).
RTView Data Server Name: Define the name of the data server that you want to display in Enterprise Monitor. Modifying the default name in this field is optional. However, for our example, enter Infra_Data_Server so that we can verify our change in our verification section later in this document. This field can be defined by default by defining the RTVDS_NAME environment variable (for example: RTVDS_NAME=INFRAMON_LOCAL). Note: You can only enter alphanumeric characters, underbars, and dashes in the data server name.
CITypes to Exclude: The CI Types, if any, that you want to exclude from the Service Model in the Central Server. If not specified, all CI Types for the configured solution packages are included in the Service Model. To select the CI Types you want to exclude, click the associated  button to display the CI Types to Exclude dialog, select the desired CI Types, and click OK. This field can be defined by default by defining the RTVDS_CITYPESTOEXCLUDE environment variable (for example: RTVDS_CITYPESTOEXCLUDE=DOCKER-CONTAINER,DOCKER-ENGINE).
Send Connection Information To Enterprise Monitor: By default, the associated Announce this RTView Data Server to the Central Server toggle is selected, which will automatically connect the data server to RTView Central. If you do not want to automatically connect the data server to RTView Central, deselect this toggle. If deselected, you must define the connection from RTView Central to this data server in the RTView Central Configuration Application.
| Info |
|---|
| This field can be enabled by default by setting the RTVDS_ANNUNCIATEENABLED environment variable to 1 (for example: RTVDS_ANNUNCIATEENABLED=1). |
Saving Your Changes and Restarting the Data Server
- Once you have created all of your connections, click the SAVE button in the RTView Configuration Application.
2. Stop and restart the data server by either:
- clicking the
 button (in the upper right-hand corner of the window)...
- or by typing the following in your installation directory in the command window:
stop_server.bat (Windows)
./stop_server.sh (UNIX/Linux)
start_server.bat (Windows)
./start_server.sh (UNIX/Linux)
Verifying Your Setup
To verify your setup:
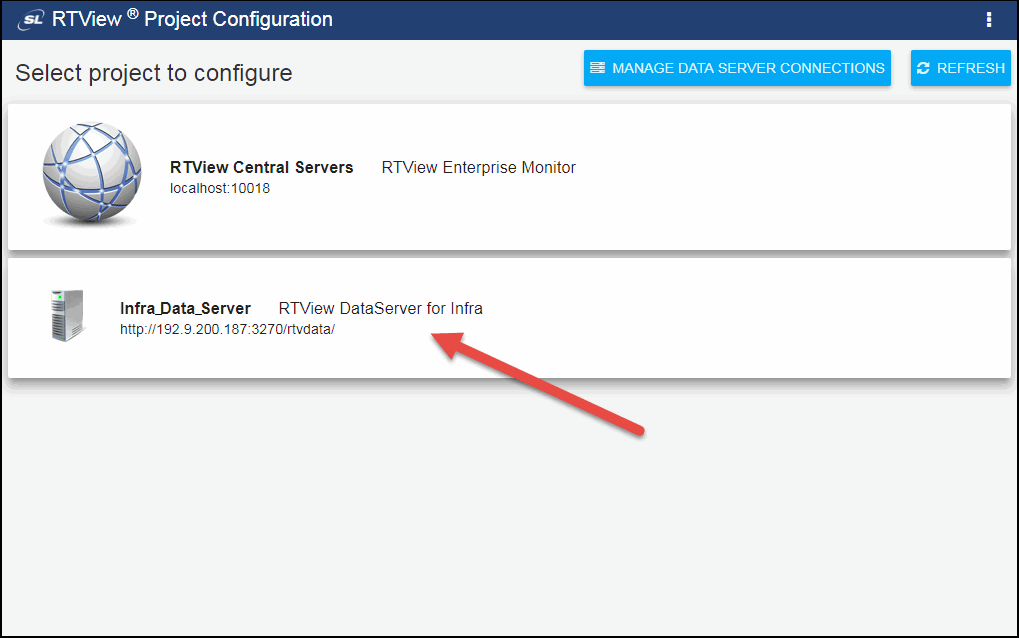
- Open a browser, access the RTView Configuration Application for RTView Central Servers (Enterprise Monitor) using http://localhost:10070/rtview-central-rtvadmin, and log in using rtvadmin/rtvadmin as the username/password.
Your data server (Infra_Data_Server, for our example) displays in the list below RTView Central Servers.
You can edit your data server connections/configurations in the RTView Configuration Application for RTView Central (http://localhost:10070/rtview-central-rtvadmin) or in the RTView Configuration Application for the RTView DataServer for Infra deliverable (http://localhost:3270/rtvadmin).
2. Open a browser, access Enterprise Monitor (for example, http://localhost:10070/rtview-central-classic), and log in using admin/admin as the username/password.
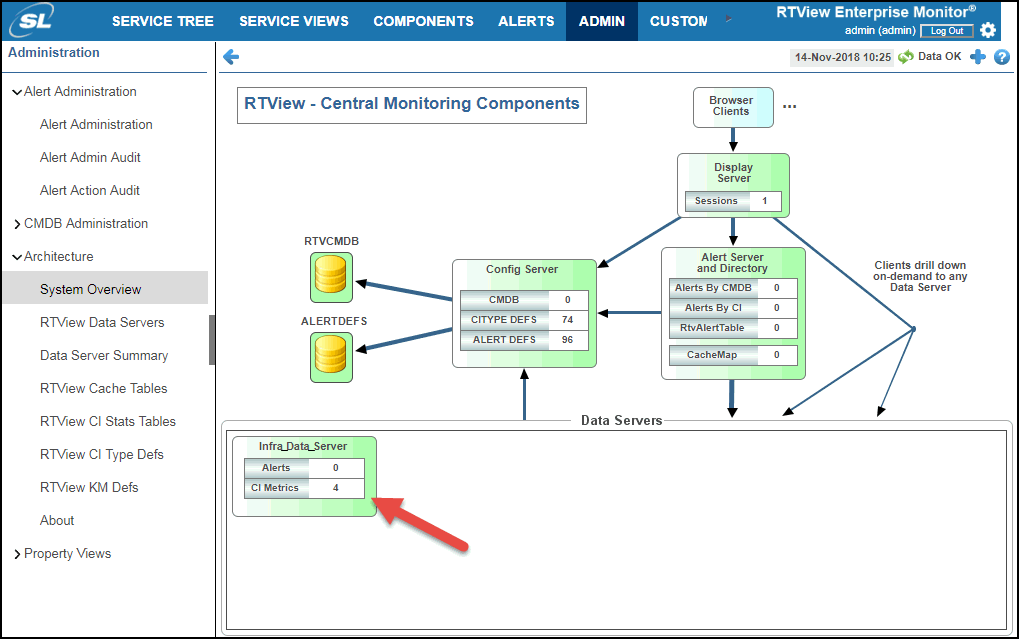
3. Click Admin > Architecture > System Overview and check to make sure that your newly connected data server (Infra_Data_Server in our example) displays in the Data Servers region and that CI Metrics are being collected.
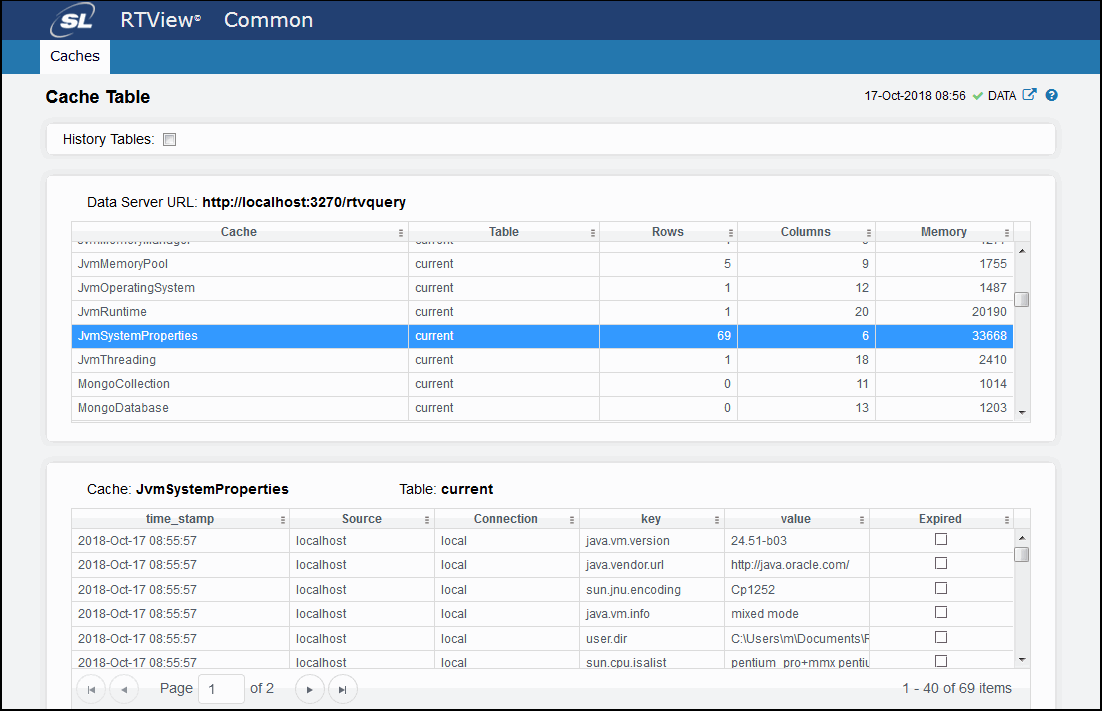
- You can also check the incoming data in your caches by opening a browser and accessing the following URL:
http(s)://localhost:3270/common (for a local installation using Eclipse Jetty)
http(s)://<IP address>:3270/common (for a remote installation using Eclipse Jetty)
The RTView Cache Viewer application displays, which allows you to view the details for the caches that are collecting data.:
| Table of Contents |
|---|