Quick Start Guide for RTView DataServer
This document describes the basic steps required to download, install, set up, and run the RTView Data Server for RTView Cloud, so you can view your performance metrics in RTView Cloud.
Before You Get Started
- You must have Java JDK installed and you should know the installation directory path.
- You should perform the following steps in your private organization in RTView Cloud.
Quick Start Steps
Log in to your RTView Cloud account at https://rtviewcloud.sl.com. (open link in new tab of your browser)
If you do not have an RTView Cloud account, go to https://rtviewcloud.sl.com/register (open link in new tab of your browser)and follow the instructions to create your account.
Once you have logged in, RTView Cloud displays.
- Click the View tab at the top of the browser, and then click the ? icon in the upper right corner.
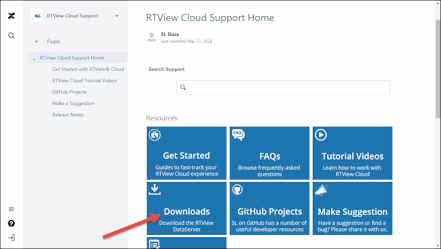
The RTView Cloud Support Home page displays.
Click the Downloads button.
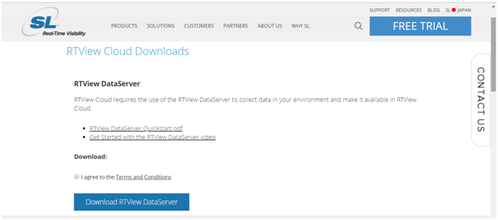
The RTView Cloud Downloads page displays.
Scroll down to the RTView DataServer region and click the Terms and Conditions link to view the SL Corporation - End User License Agreement, click the I agree to the Terms and Conditions check box, and then click the Download RTView DataServer button.
The RTView Cloud Downloads page displays.
-
Click the RTViewDataServer_<version>.zip file.
The compressed file is saved to your machine.
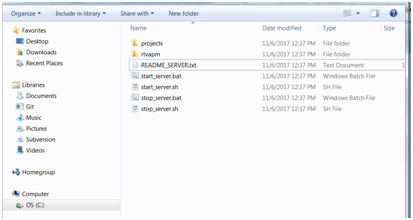
Extract All (Windows)/unzip (UNIX/Linux) the file to the directory of your choice. For UNIX/Linux, use unzip -a to unzip the file.
Open a command window and set the JAVA_HOME environment variable to point to your Java Installation.
For example:
export JAVA_HOME=/opt/Java/jdk1.7.0 (UNIX/Linux)
set JAVA_HOME=/opt/Java/jdk1.7.0 (Windows)
- In the command window, navigate to the RTViewDataServer directory and type:
start_server.bat (Windows)
./start_server.sh (UNIX/Linux)
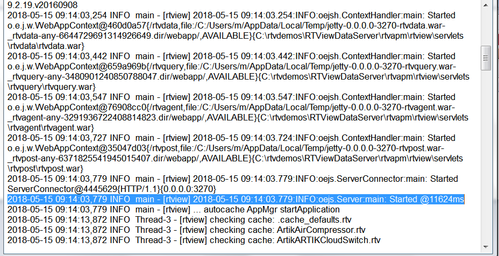
- You can look for the following line in the dataserver.log file in the RTViewDataServer\projects\sample-server\logs directory to verify that the dataserver has started properly:
2018-05-15 09:14:03,779 INFO main - [rtview] 2018-05-15 09:14:03.779:INFO:oejs.Server:main: Started @11624ms
- Log in to RTView Cloud and click the Data tab at the top of the menu.
The RTData Server List page displays.
- Click the Add RTView Server button, specify the following, and then click Save Added Servers:
Name: Type the name you want to use for the server.
Host/URL: Enter the following: http://localhost:3270/rtvquery
Type: Select Data.
Authorization Type: Do not select an 'Authorization Type'. Leave this option empty.
Once saved, the newly added server displays in the RTData Server List.
CONGRATULATIONS!
You've successfully downloaded, installed and run the RTView DataServer in your computer and added it to RTData Server List in RTView Cloud.


